Scoubidoo laces, scooby strings, scoobies, whatever you want to call them, they are a craze that seems to be sweeping through Schools up and down the country at the moment.
So, if like me, you have a young relative who asks you to find out how to make them, then hopefully I can save you some time surfing.
All Scoubidou strings start with a basic knot. There are many ways to make a the starting knot including square or round knots made of 3 or more strings.
Instructions
You can find full instructions on how to make scoobies at Scoubiguide.co.uk. They also have information on each of the scoubidoo stitches; square stitch, round or circle stitch and the butterfly stitch, amongst others.
3 String Round Scoobidou Knot
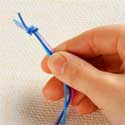 |
1. Tie the strings together into a knot. |
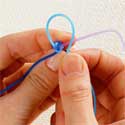 |
2. Place the first string over the second, forming a loop, repeat with the second string. |
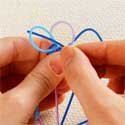 |
3. Put the 3rd string through the first loop. |
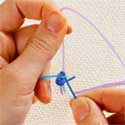 |
4. Carefully pull tight. |
4 String Round Scoubidou Knot
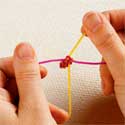 |
1. Tie one string over the other. |
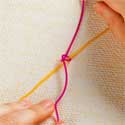 |
2. Place the first string over the second, forming a loop, repeat with strings 2 and 3. |
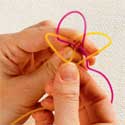 |
3. Put the 4th string in the first loop. |
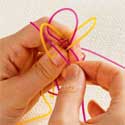 |
4. Carefully pull tight. |
Someone on another website summarised the making of Scooby Strings as follows:
“What you do is take 2 lengths of thin plasic (the cord from inside old telephone wire works if not) and fold them both in half and tie a knot at the folded end to produce a loop.
Hold the loop in your left hand (for right handed people – swap if your a leftie) and place the (now 4) stips of plastic at 12, 3, 6 and 9 o’clock.
The pattern is then 12 over 3 (pic the 12 o’clock wire and move it over 3 oclock to 4:30), 3, over 6, 6 over 9 and then 9 through the loop you made when you moved 12.
Then pull all four strips to tighten the knot and start all over again.”